Small Garage Workshop: Plan the Work Before the Bench
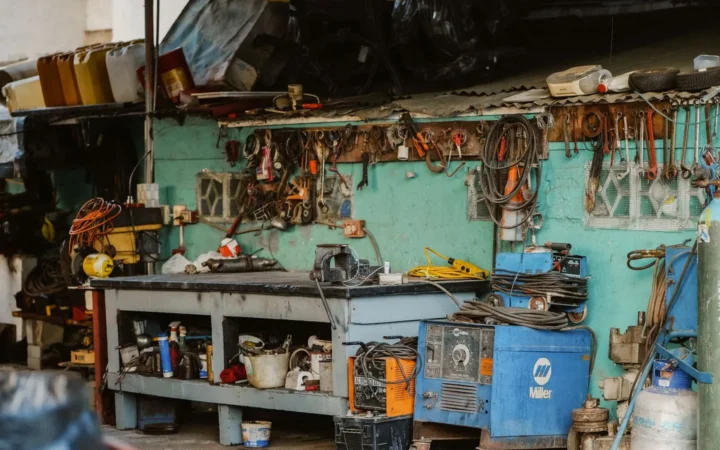
A small workshop works best when it is designed around a repeatable task. “A place for every tool” is useful, but it does not tell you where a project starts, where materials wait or how the garage returns to normal use. Plan the work sequence first; choose the bench afterward.
Pick a typical project you already know how to carry out safely. This guide concerns layout and organization. Tool operation, ventilation, electrical work and other safety requirements must follow the relevant instructions and qualified guidance.
Describe the work from arrival to cleanup
Write the project's stages in ordinary language: bring in materials, inspect them, measure, work, assemble, store and clean up. Under each stage, list the surface, tools and temporary space needed. Include the awkward middle stage when the project is larger than the original materials.
If the garage also holds a car, identify which stages require the vehicle to be elsewhere. That is a scheduling constraint as much as a layout issue. A project should not depend on the family discovering halfway through that the garage will be unavailable all week.
Divide permanent and temporary space
Permanent storage holds tools and supplies between sessions. Temporary working space is available when the project is active. In a small garage, a movable surface may be useful, but only if its stability, capacity and locking arrangements fit the actual task.
Before choosing furniture, map door swings, walking routes, equipment access and the space needed around each tool according to its instructions. Keep emergency access clear. Do not treat an open-looking corner as available until those needs have been considered.
Choose one useful bench size
Measure the largest typical workpiece and the space needed to handle it. Then compare that requirement with the room. A deeper bench is not automatically better: the back can become unreachable storage while the front narrows the walking route.
Make a temporary outline with removable markers where safe. Stand at the proposed working position and imagine reaching the tools used in the first project. Keep the layout within comfortable reach, and test how you would move the workpiece without hitting a parked vehicle or another person.
Store tools by the next action
Group measuring tools together, frequently used hand tools near the work area and occasional tools in clearly labeled storage. Avoid designing the wall only for appearance. A tool that is difficult to return often ends up on the bench, reducing the working surface you planned.
Keep manuals and product information accessible. Follow manufacturer requirements for batteries, chargers, chemicals and other materials; they may not belong in the same cabinet simply because they fit.
Create a project parking place
Every unfinished project needs a defined stopping point. Choose a shelf, container or other suitable area for parts, notes and hardware. Label the project and include the next step. Small components should not remain scattered across the only available work surface.
For example, a household repair might have a labeled parts container, a photograph of the original arrangement and a note saying “confirm replacement size.” That makes the next session easier to start and reduces the chance that someone mistakes project parts for clutter.
Use a five-minute shutdown checklist
- Follow the tool instructions for shutdown and storage.
- Put loose parts in the project container.
- Return frequently used tools to their assigned places.
- Clean the work area appropriately for the materials involved.
- Restore walking routes and normal garage access.
- Write the next action before leaving.
Test the layout with one modest project before buying a full wall of cabinetry. The most useful improvement is the one that removes an actual obstruction in your workflow. Explore more ideas in the Garage Playbook workshop guides.
Walk one modest project through the space
| Stage | Space needed | Finish condition |
|---|---|---|
| Set up | Clear stable surface and a container for loose items | Ordinary walking and door routes remain usable |
| Sort | One small group of items at a time | Keep, relocate and dispose decisions recorded appropriately |
| Restore | Return suitable items to the drawer | Tools and materials put away under their instructions |
| Close | Check the work surface and route | No loose items left where they obstruct use |
Start with the smallest project that lets you see whether the layout works. Do not treat this simple sorting example as a workshop safety plan for cutting, sanding, chemicals or powered equipment. Those tasks require their own controls, suitable equipment and manufacturer instructions. If a planned task does not fit safely, change the work location or obtain suitable help before beginning.
About the author: Jeremy Jarvis is an independent publisher and author.

Comments
Post a Comment